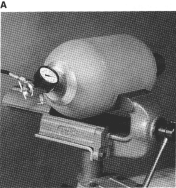
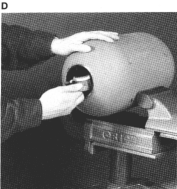
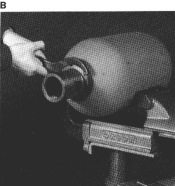
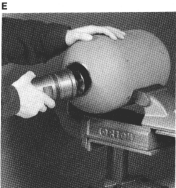
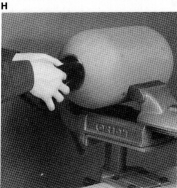
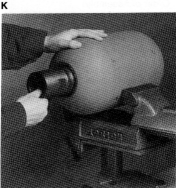
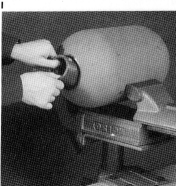
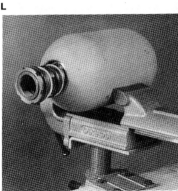
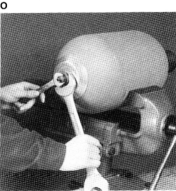
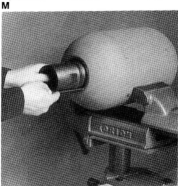
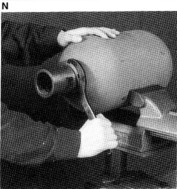
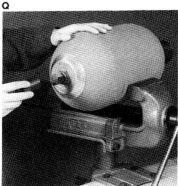
Shell:
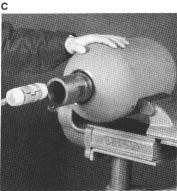
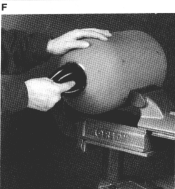
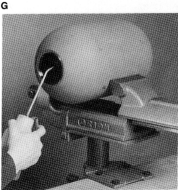
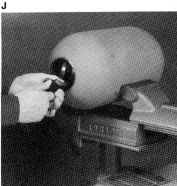
Visually inspect:
- inside to ensure it is free of debris, rough spots, or chafe marks.
- fluid side bore for dammage which could hamper proper sealing.
- exterior for any sign of damage
If any interior of exterior damage is found, contact Paul Wever Construction Equipment Co., Inc. for proper repair or replacement instructions.
Bladder:
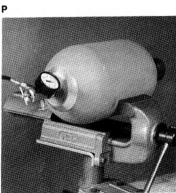
The bladder must be checked for leakage. Reinstall gas valve core and charge the bladder with nitrogen or compressed air to its natural shape and inspect for leakage.If leakage occurs, first check the gas valve core and replace it if necessary. If leakage still occurs, then the bladder must be replaced. The bladder must be visually inspected for lateral grooves and deep chafe marks. If any are found, the bladder should be replaced. Shallow chafe marks are insignificant and will not hamper performance.Note: Bladders can not be repaired or revulcanized.
|
Fluid Port:
Depress poppet and rotate 90 degrees to ensure free movement. Visually inspect poppet, threads, and sealing surfaces for any damage. If any damage is found, the fluid port should be replaced.
Anti-extrusion Ring:
VULCANIZED VERSION:
Visually Check vulcanized area between steel and rubber to make sure it is undamaged and that adhesion is still good (no gaps between rubber and metal). If the adhesion is poor or if the rubber is cracked or shows signs of embrittlement or aging, replace anti-extrusion ring. Also check the seat area on the steel parts for grooves or any other damage. If any are found replace anti-extrusion ring.
NON-VULCANIZED VERSION:
Visually check area between the steel and rubber to make sure that the steel ring is properly seated. If the rubber is cracked or shows signs of embrittlement or aging, replace anti-extrusion ring . Also check the seat area on the steel parts for grooves or any other damage. If any are found replace anti-extrusion ring.
|
Seals:
New seals should always be used whenever reassembling any bladder accumulator.
Other Parts:
Inspect for damage and replace if necessary.
|
